Capturing the perfect storm!
|
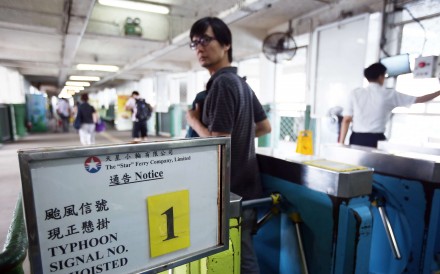
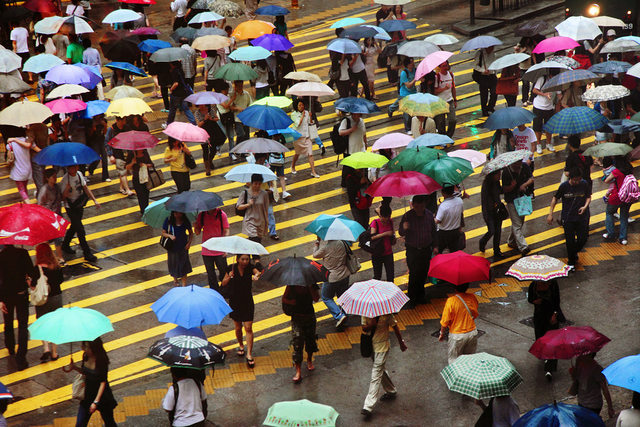
Hong Kong experiences some dramatic and violent storms throughout the summer months, which can lead to some dramatic photography opportunities. Capturing this raw power of nature through storms can be a great way to show a city in a different light. Storms and often in our case typhoons can often result in moody, dramatic and eye-popping images. However, it is not just the physical weather that is worth documenting, but the build up, the anticipation of the impending nature power that is bearing down on the city at a rapid speed. How are people preparing themselves? How can you capture that anticipation as people scurry home to the protection of their homes?
There are a lot of things to consider before you shoot a storm like this, not all of them necessarily photography related. These are a few things you will need to consider. |

Source: www.reddit.com/r/HongKong/comments/1nkzk8/harbour_storm_xpost_rweatherporn/
|
SAFETY IS THE ULTIMATE PRIORITY
Wondering around Hong Kong in a Typhoon with lightning striking around you, you are obviously asking for trouble and can be extremely dangerous! While you can capture some of the story of the impending storm (as shown below), this guide to capture the storm is for you to do from the safety from your own home. Do not go outside if their is a thunderstorm warning or if a T8 has been hoisted. You should monitor the Hong Kong Observatory website / mobile app and keep up to date with regards to the weather situation. Do not stand in exposed areas where you or your camera could get damaged due to building winds and rain. Safety is a priority, and it is never worth trying to capture that perfect image for the sake of your well-being. Unsure that you have informed your helper and/or guardian of where you are going if you head outside, and you must obtain their permission to do this before you leave.
Photography Tips
|
Compose Your Shots – It’s very easy to get carried away in a moment when the storm is gathering, the wind is blowing and things are getting exciting. The strong temptation is to just start snapping away. Remember though that you still need to consider what is going to make a good photograph. Can you find an interesting foreground? What other elements, other than the storm, are you going to use to compose your shots?
Your tripod is your best friend - This is especially true in night settings when you’re trying to photograph lightning. It’s good to have a sturdy tripod even if you are taking images from inside. Shooting lightning while using your tripod is quite easy, see the capturing lightning section below for more details.
|
|
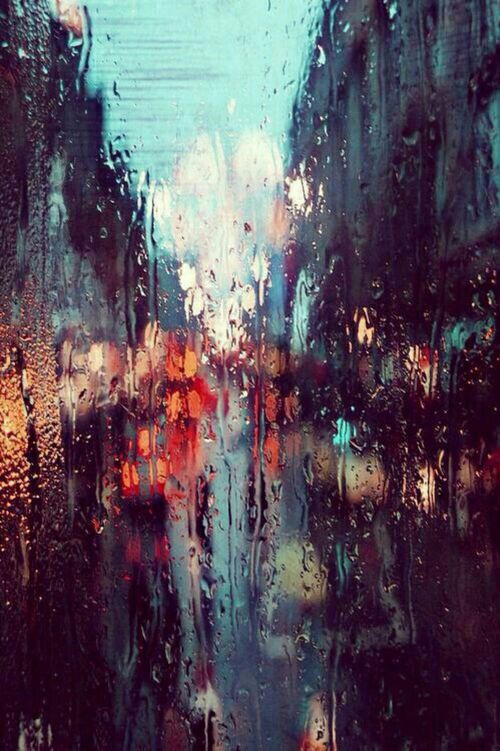
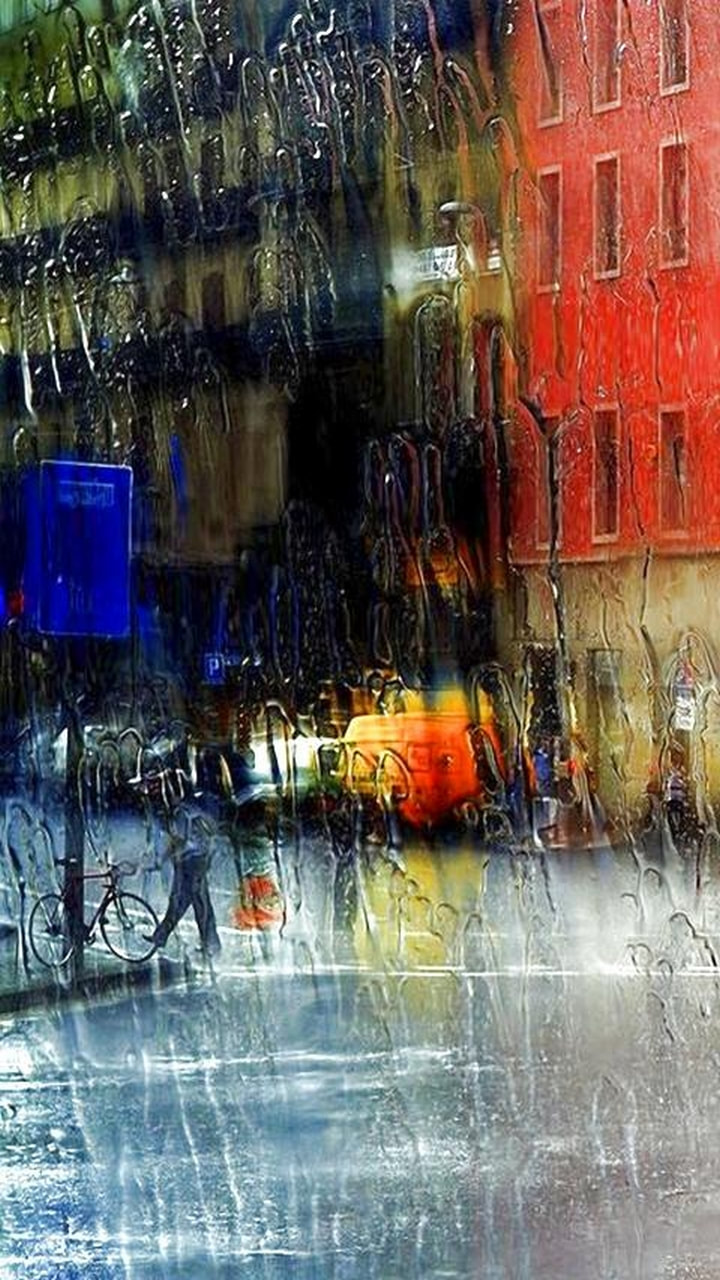
Shooting from the comfort of your own home!
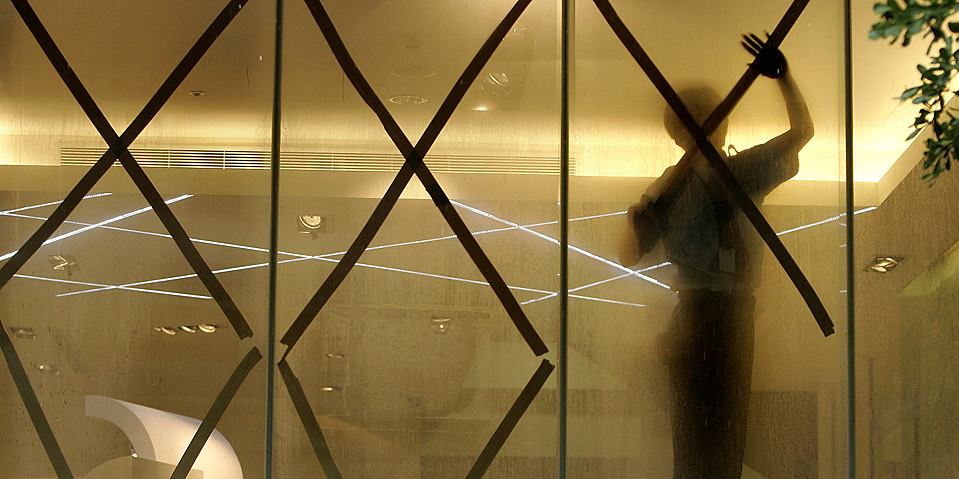
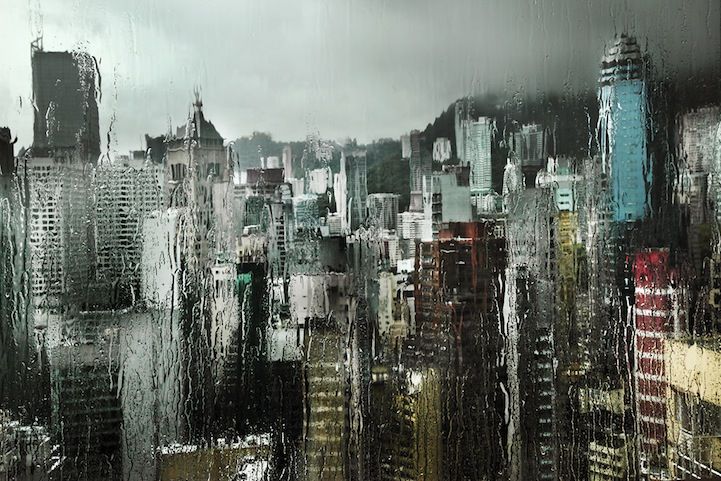
You can capture some great abstract images of the storm even from the comfort of your own home! Shooting through a window or glass is something that I wouldn't normally recommend, however, when you have rain pouring down on the outside, it can lead to some very dramatic and abstract images. Try and capture some of these shots during the day and at night.

Capturing Lightning
A common mistake people make when shooting lightning is exposing for the scene they are shooting instead of exposing for the lightning shot. One key to taking pictures of lightning is to have a camera that allows you to take bulb exposures. A bulb exposure is a photograph where you get to decide how long you want to keep your shutter open. Usually you (or your camera) decide this beforehand with the shutter speed setting, but in bulb mode, you decide when you want to close the shutter by pressing the shutter button a second time. Check your camera manual to see whether you have this function at all. If not do not be concerned you can follow the suggestions below.
If you are unable to control the shutter speed through the bulb setting you will want to set an exposure time for between 20 and 30 seconds, for which a normal shot without lightning will be totally black. The settings I find that usually work for me are around f/7, ISO100 and 30s for lighting that is very powerful and very close, down to about f/5, ISO100 and 30s for lighting that is a bit farther off in the distance.
If you are unable to control the shutter speed through the bulb setting you will want to set an exposure time for between 20 and 30 seconds, for which a normal shot without lightning will be totally black. The settings I find that usually work for me are around f/7, ISO100 and 30s for lighting that is very powerful and very close, down to about f/5, ISO100 and 30s for lighting that is a bit farther off in the distance.


You will want to be using the widest lens available to you, and when framing the shot keep the horizon as low as possible in the photo while maintaining an interesting scene.
As well as setting the exposure manually, focusing manually is also a must! Take a few test shots focusing on something far off in the distance until you have it nice, sharp and in focus – this should get you somewhere near the hyper-focal distance of your lens and allow your lighting strikes to be in focus.
Many cameras also have a built in interval timer that will allow you to set your camera to continuously take images without you having to reset your camera. Have a look at you camera manual to see whether you have this function as this will allow you to set the number of images that your camera will take over a certain time period without you being anyway near your camera.
