Light painting & Graffiti
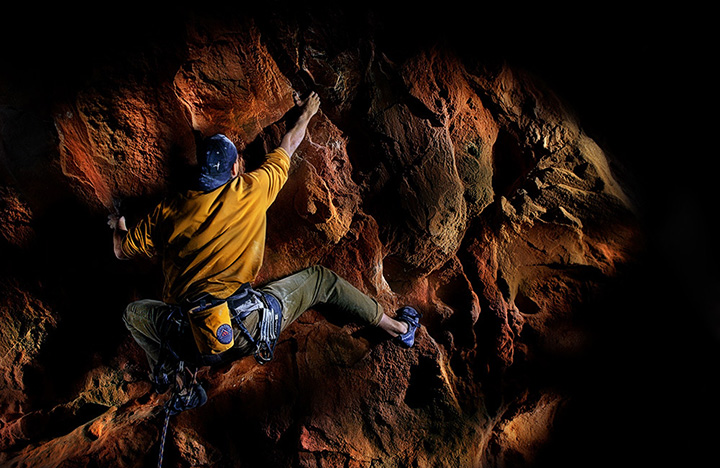
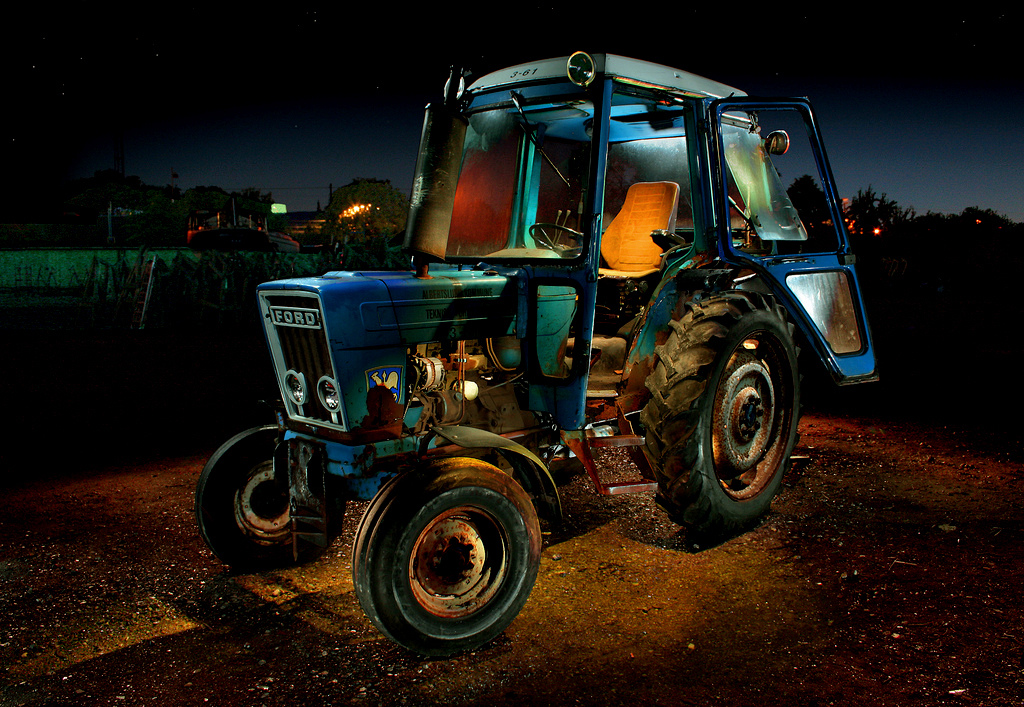
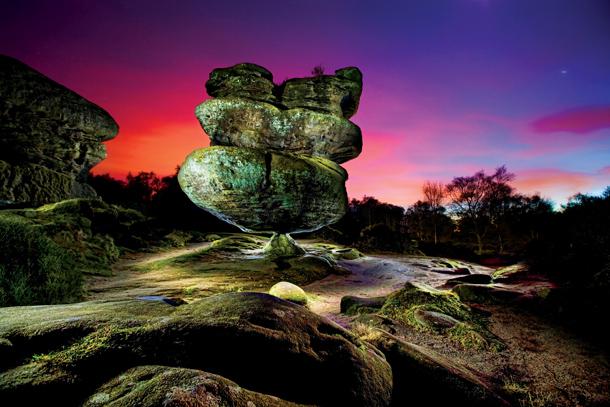
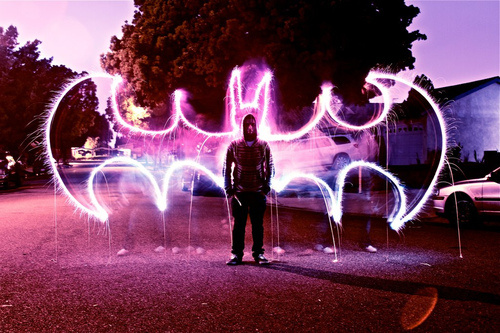
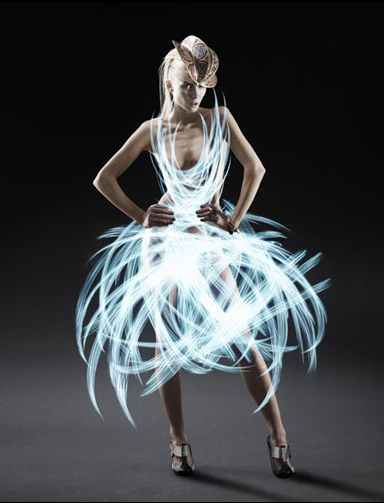
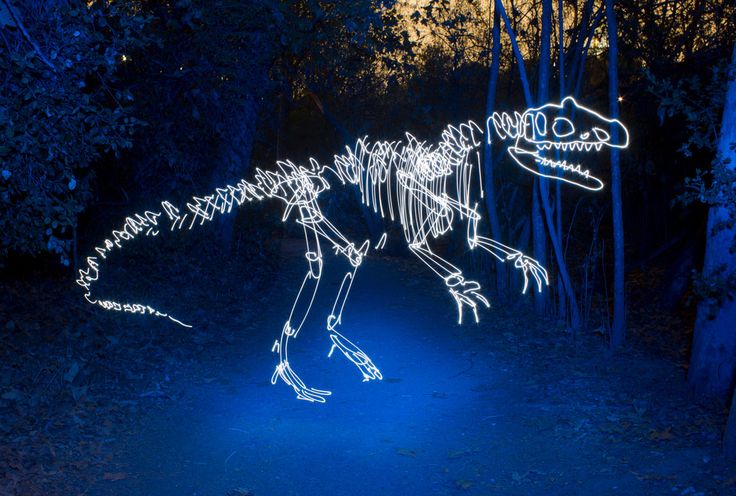
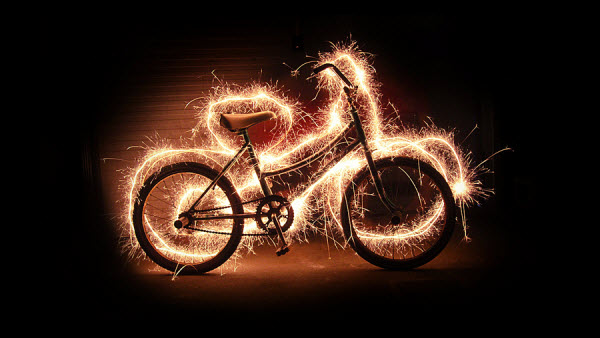
Light painting involves opening your camera’s shutter long enough for you to ‘draw’ in the darkness with a light source such as a torch or lantern, effectively painting inside the photo. Light graffiti which is very similar, the main difference is that you’re using the light source as the subject, rather than using it to paint light onto a dark scene.
Light Painting |
Light Graffiti |

|
EQUIPMENT
|
CAMERA SETTINGS
- Aperture: You can use anything from a large aperture (small f-number) at f/4 to a small aperture (large f-number) at f/22. As long as you stop down enough so that your point of interest is in focus and sharp then that is all that matters.
- Shutter speed: The shutter speed depends on your location, the type of effect you are going for and how much light is around you – taking into consideration any ambient light too. If you’re in a dark room experimenting with an object then 10-15 seconds is usually fine to start with.
- ISO: Use the lowest ISO setting possible to avoid grain (noise) creeping into your shot.
- Focusing: Set the lens to manual focus and focus by twisting the focus ring at the end of your lens. Because you will be shooting in the dark if you set the camera to autofocus it will struggle to focus and the camera will try to refocus each time you press the shutter button.
|
|
|
PHOTOGRAPH SET UP
- Position your camera or object to where you want it – try experimenting with a variety of perspectives
- Attach your camera to your tripod and set it to the right height
- Manual focus on the subject whilst the lights in your house are switched on. Alternatively, if you’re shooting outside then you can use your torch instead
- Once the focus has been set, adjust the shutter speed and turn off the lights
- Release the shutter, either by using a remote or by manually pressing the shutter button
- Once the shutter has been released (listen out for the click sound) quickly get into position and then turn on your light source (EG. torch, glowsticks) and begin painting
