Switching from Auto to Manual
So many of us go out there and buy and all singing and all dancing camera, but then never take it off Auto mode. While using the series of manual modes that are available on most cameras can be very daunting, in doing so you will unlock your true creative potential. Below you will find a series of resources and activities that will support your journey from auto to manual. These will focus on how to use your DSLR camera settings, including both manual and creative auto modes. It is also equally useful for those with mirrorless CSC cameras (Compact System Cameras) or point and shoots where you are able to adjust and manipulate settings such as aperture, shutter speed and ISO.
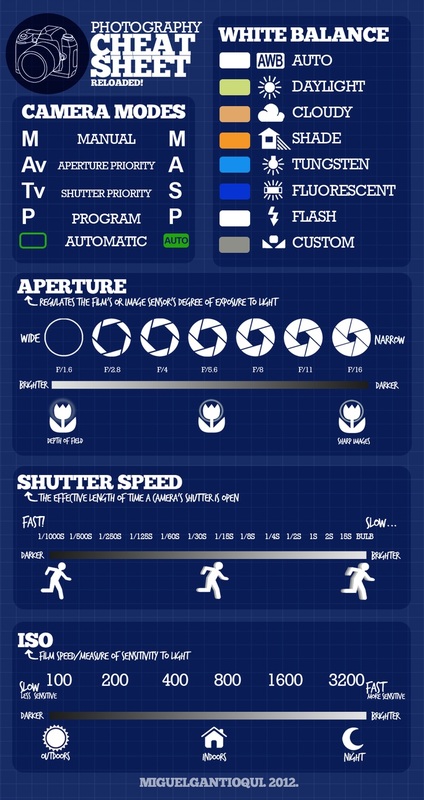
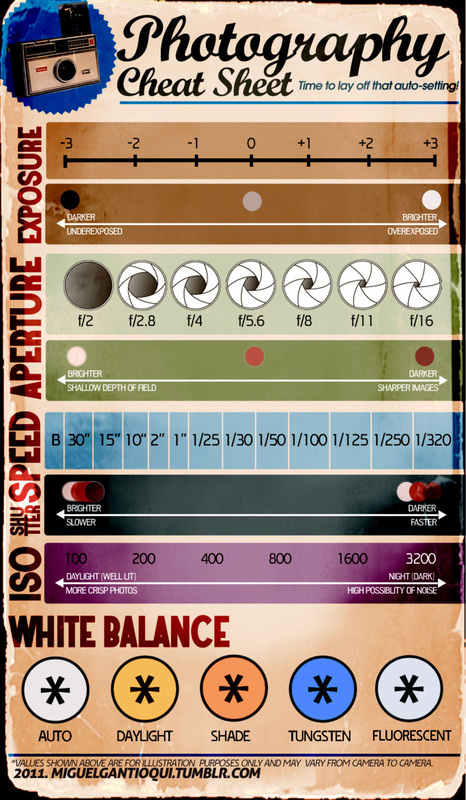
It is often a lot to take in at the start so try using one of the cheat sheets below to keep referring back to in order to support your learning and understanding of your new creative ability.
It is often a lot to take in at the start so try using one of the cheat sheets below to keep referring back to in order to support your learning and understanding of your new creative ability.
|
|
Video Help!
|
|
|
Understanding Exposure
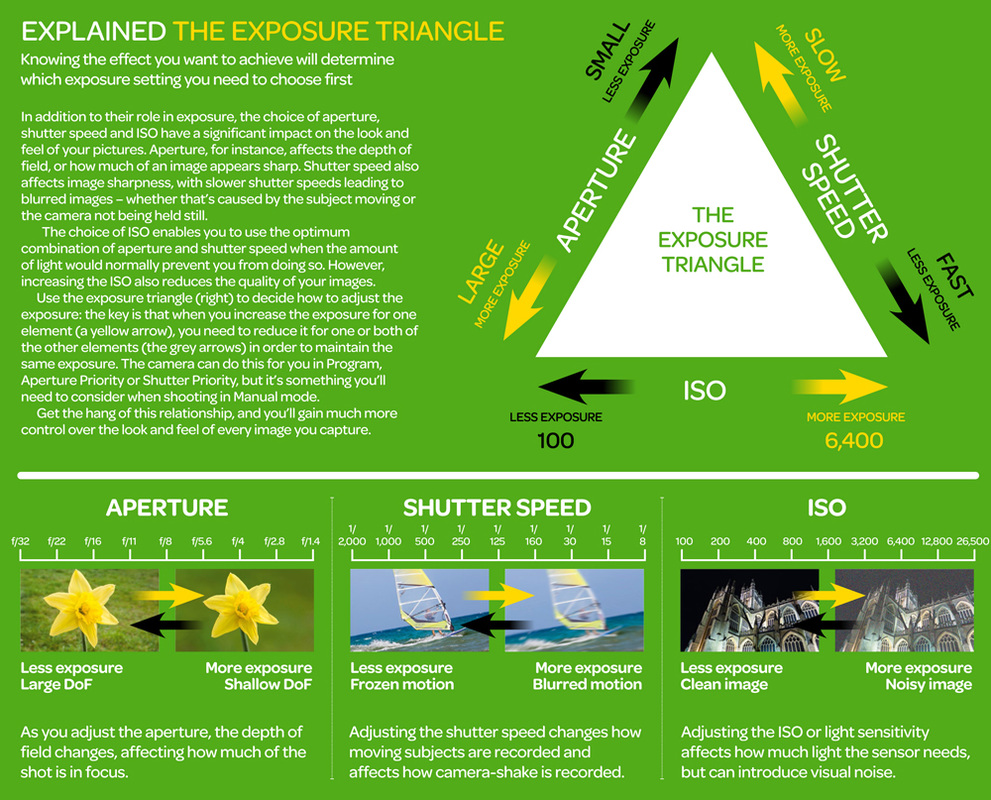
Creating a harmonious exposure using the aperture, shutter speed and ISO is a juggling act. As soon as you make a decision about one element, you’ll need to compromise with another.
The trick to balancing The Exposure Triangle is to get all three elements working together so you get the results you want ,and not what the camera tells you you can have.
Because of that, it’s really worth putting in the groundwork and getting to grips with the basics of shutter speed (how long the camera’s sensor is exposed to the light), what an aperture is (how much light the lens lets in, which also affects depth of field) and ISO (the sensitivity level of the sensor). Once you know how to do this, there’s nothing you can’t do.
|
Going Manual from RCB78 |
How was I taken from RCB78 |
|
|
Now its your turn to practice
Spend 10 minutes experimenting with the camera simulator below. Using the aperture, shutter speed and ISO play around with the exposure of the images as well as the depth of field. Also try altering the light conditions, the focal length and the distance from the subject and see what changes you need to make in order to capture images that are at the correct exposure.
Now you have had some time to practice try and capture the images outlined below.
- An image with a deep depth of field on a mostly sunny day at a distance of 8 feet;
- Capture the windmill motionless on an overcast day at a focal length of 40mm;
- An image with a shallow depth of field on a mostly sunny day at a distance of 4 feet;
- Capture the girl motionless, but the windmill moving at an ISO of 800.
- In Aperture Priority mode on a mostly sunny day, what would your settings be on your camera in order to get a deep depth of field and a motionless windmill?
What file type should I shoot in?
Raw vs Jpeg from RCB78
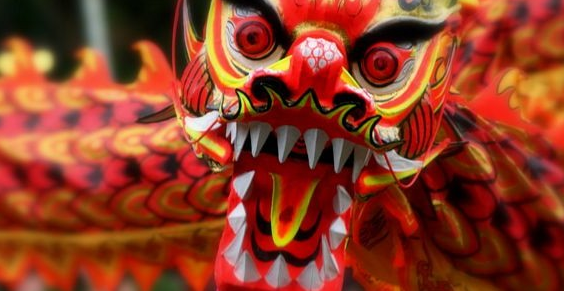
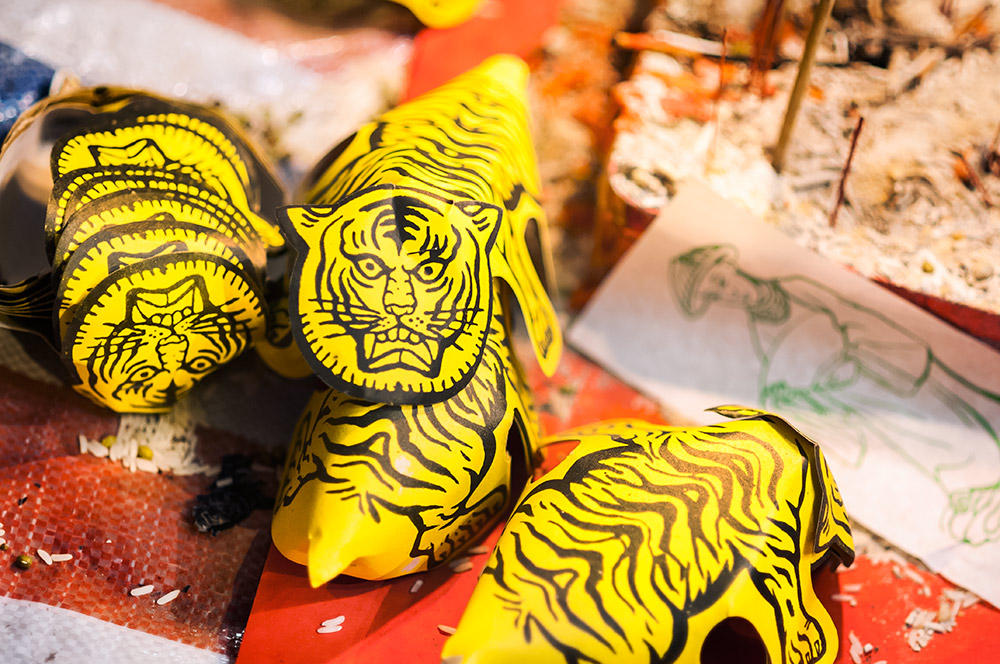
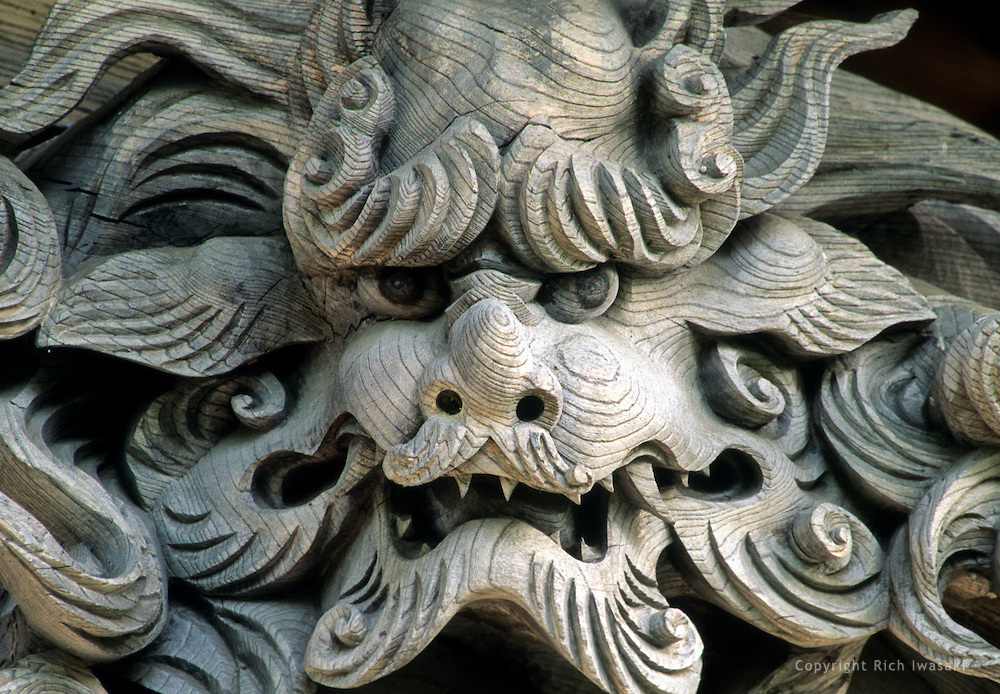
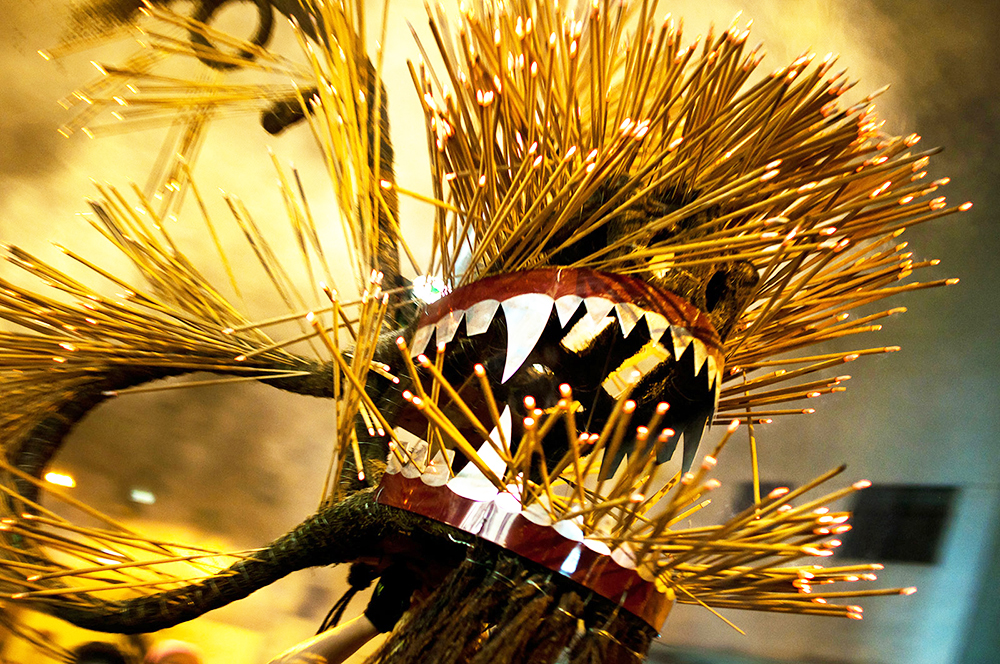
Tigers & Dragons
Over the next few weeks you are going to be tasked with capturing images of mystical creatures that live in our great city, Hong Kong. Modern, bustling Hong Kong is so much more than skyscrapers and shopping malls. For beneath the glitz and glamour of the Asian Tiger lies the wisdom and traditions of the Chinese Dragon. The Asian Dragon and Tiger represent the balance of power. Both are the Buddhist Symbols which refers to two spirits so wildly different and yet at the same time similar mortal enemies intricately linked together by destiny. It represents both the 'hard' and the 'soft' style of power. You have been tasked with capturing these beasts and immortalising them forever in your photographs. Use the skills that you have learnt about exposure, aperture, depth of field, shutter speed and ISO to do this. Some examples can be found below.